[Conda] 安装Jupyter notebook
1. 安装Conda
2.1 创建虚拟环境(建议)
为了做环境隔离, 建议使用不同的虚拟环境来管理
conda create -n vm_jupyter python=3.12 -y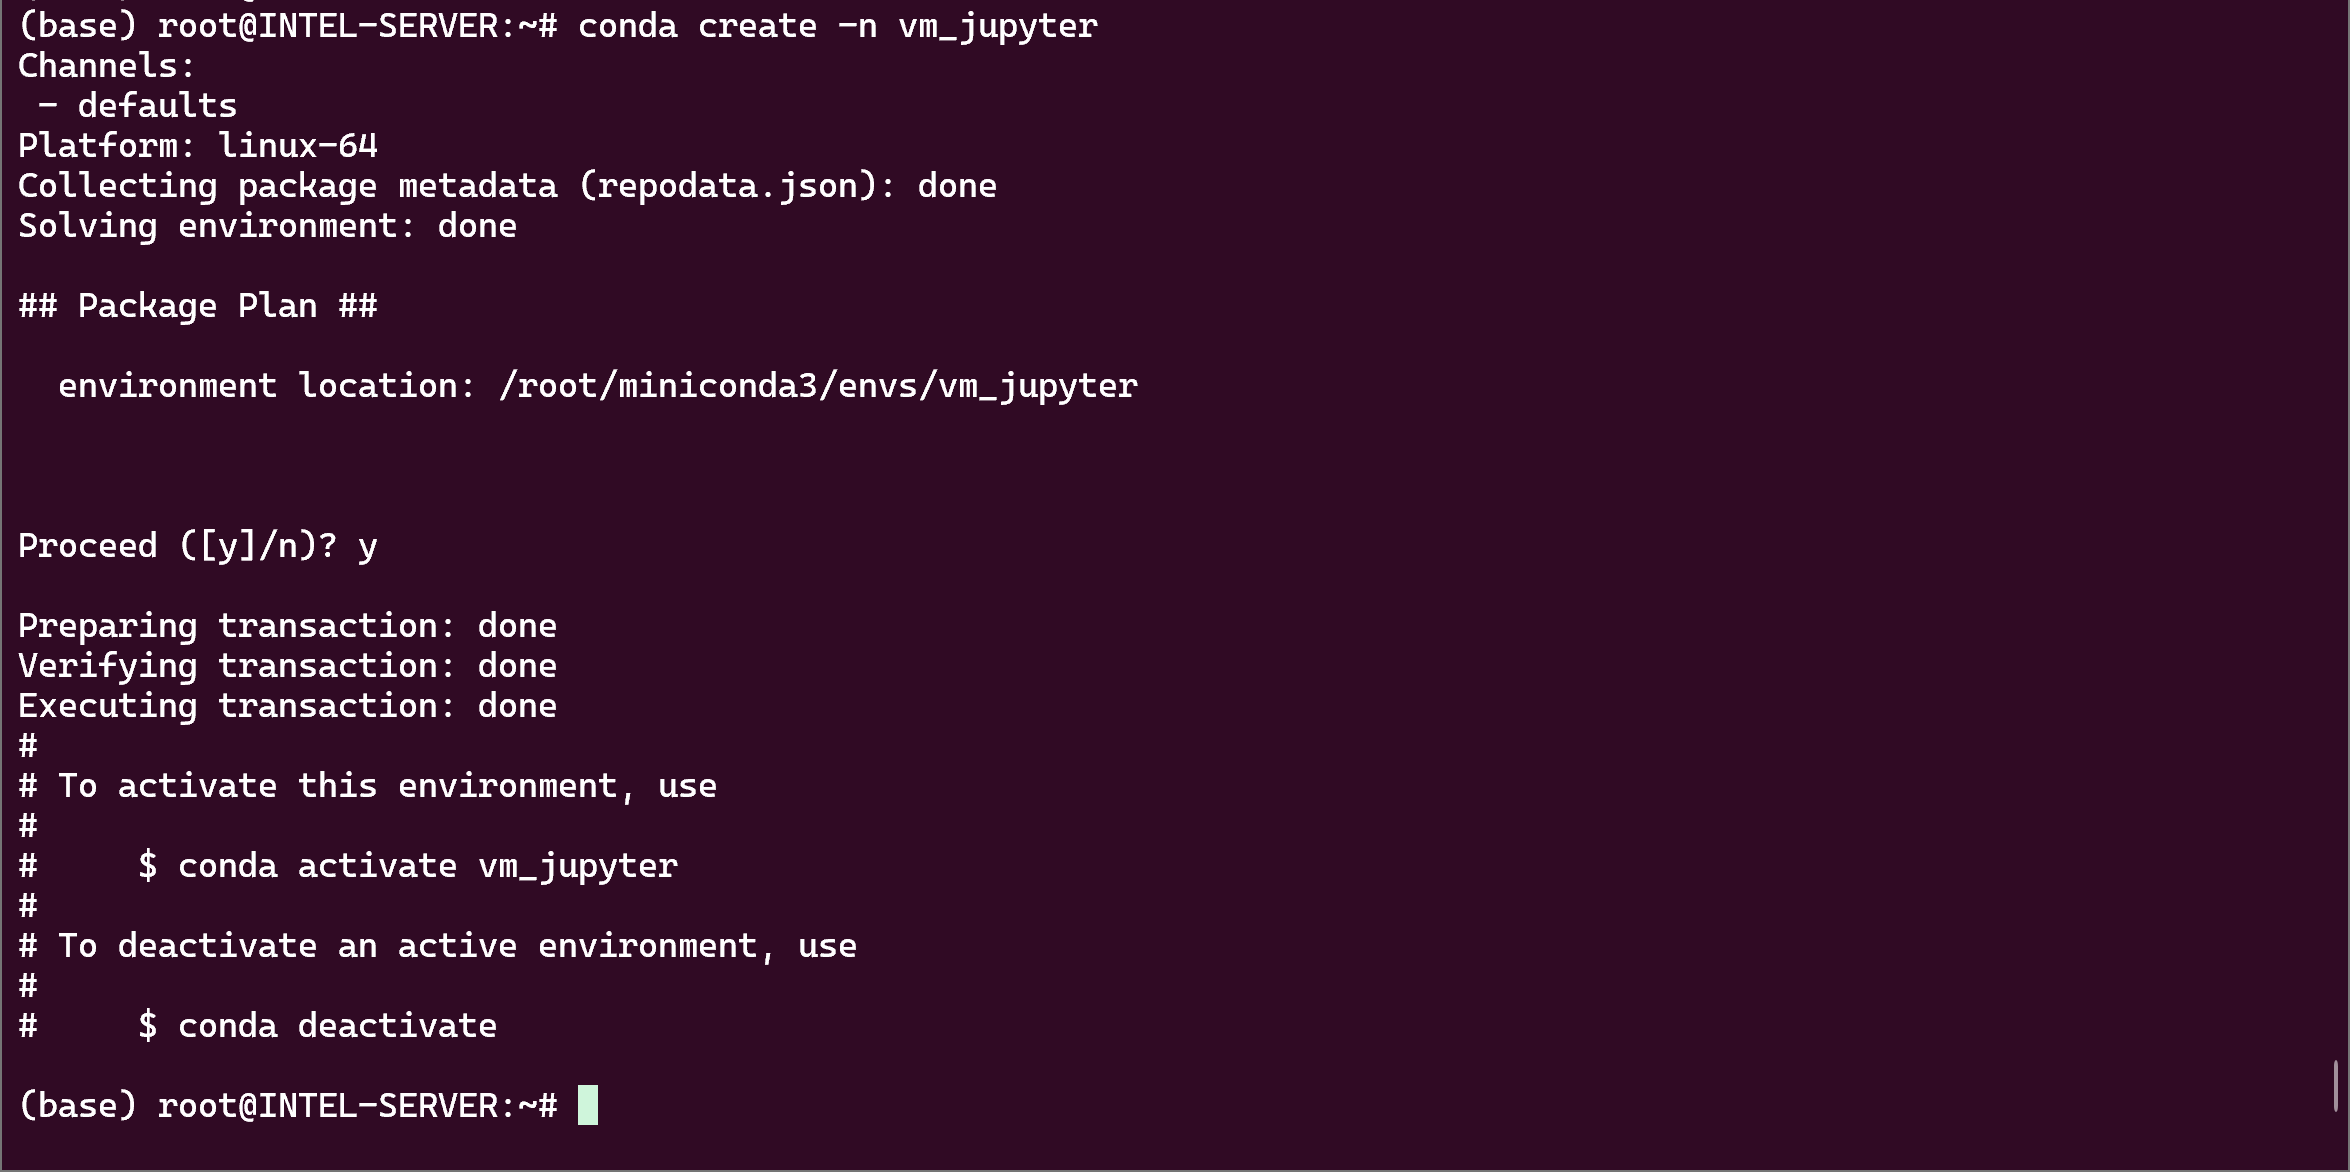
进入虚拟环境
conda activate vm_jupyter
安装Jupyter lab 和 notebook
conda install -y jupyterlab notebook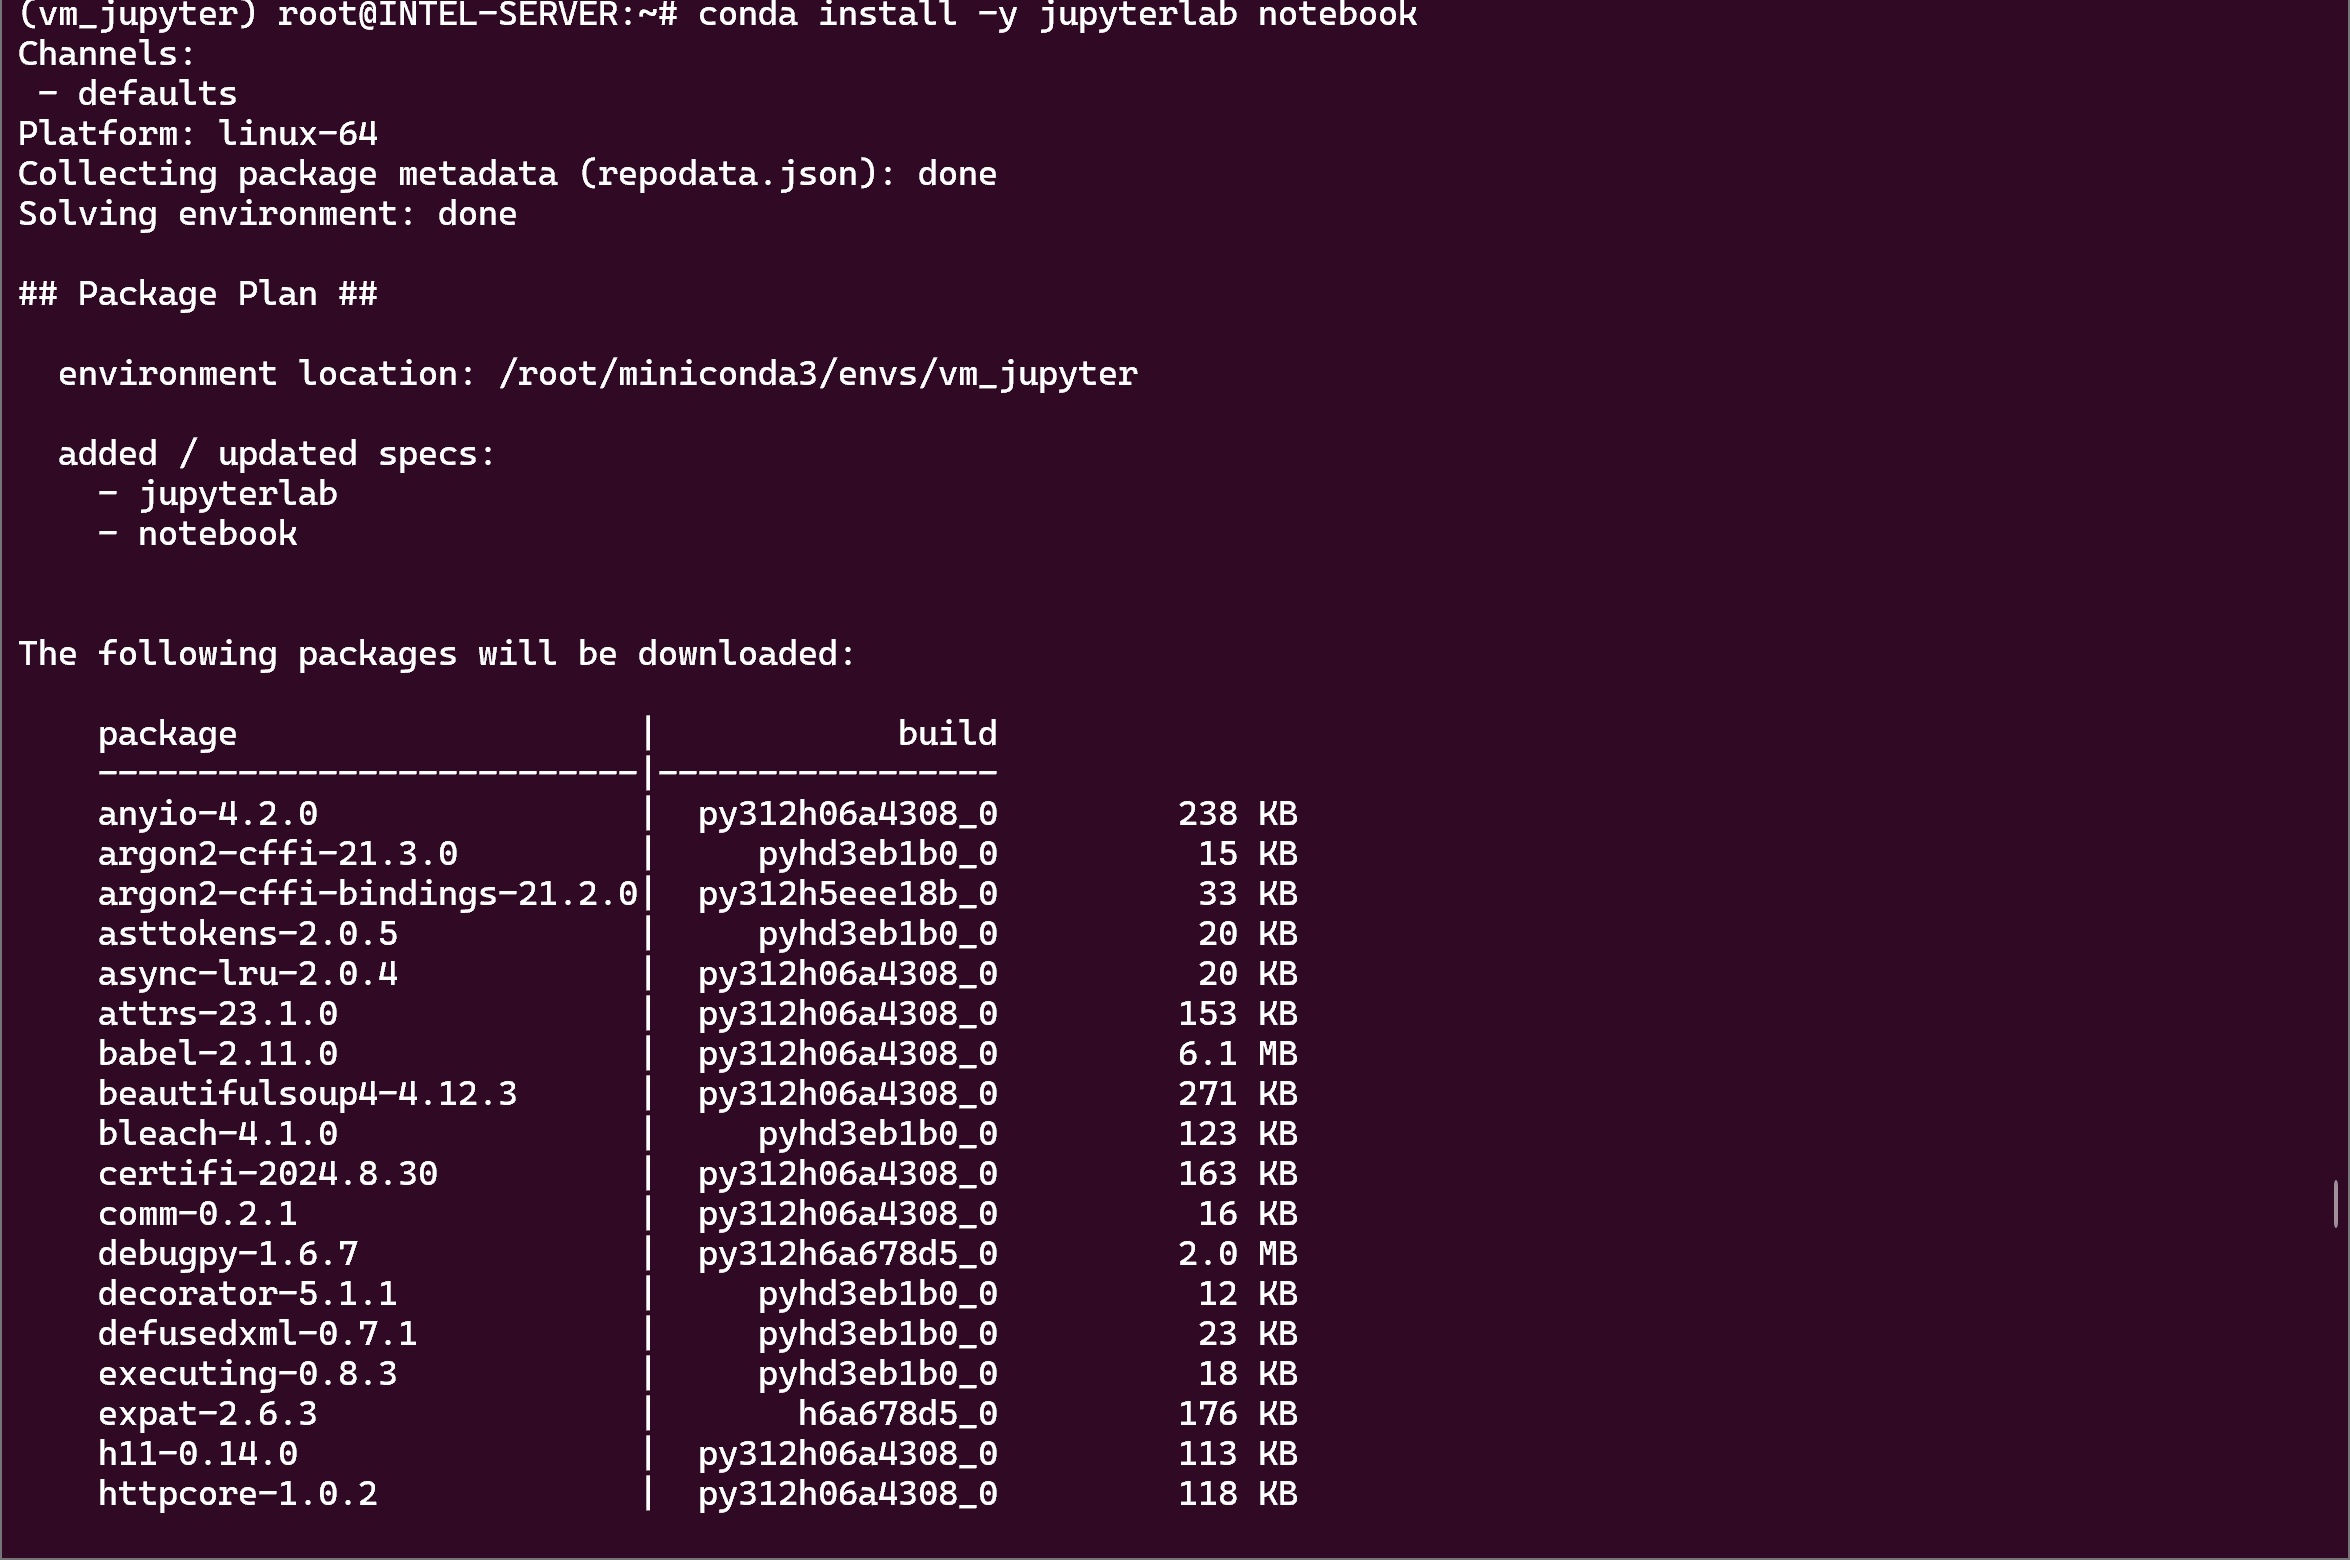
启动notebook
jupyter notebook --allow-root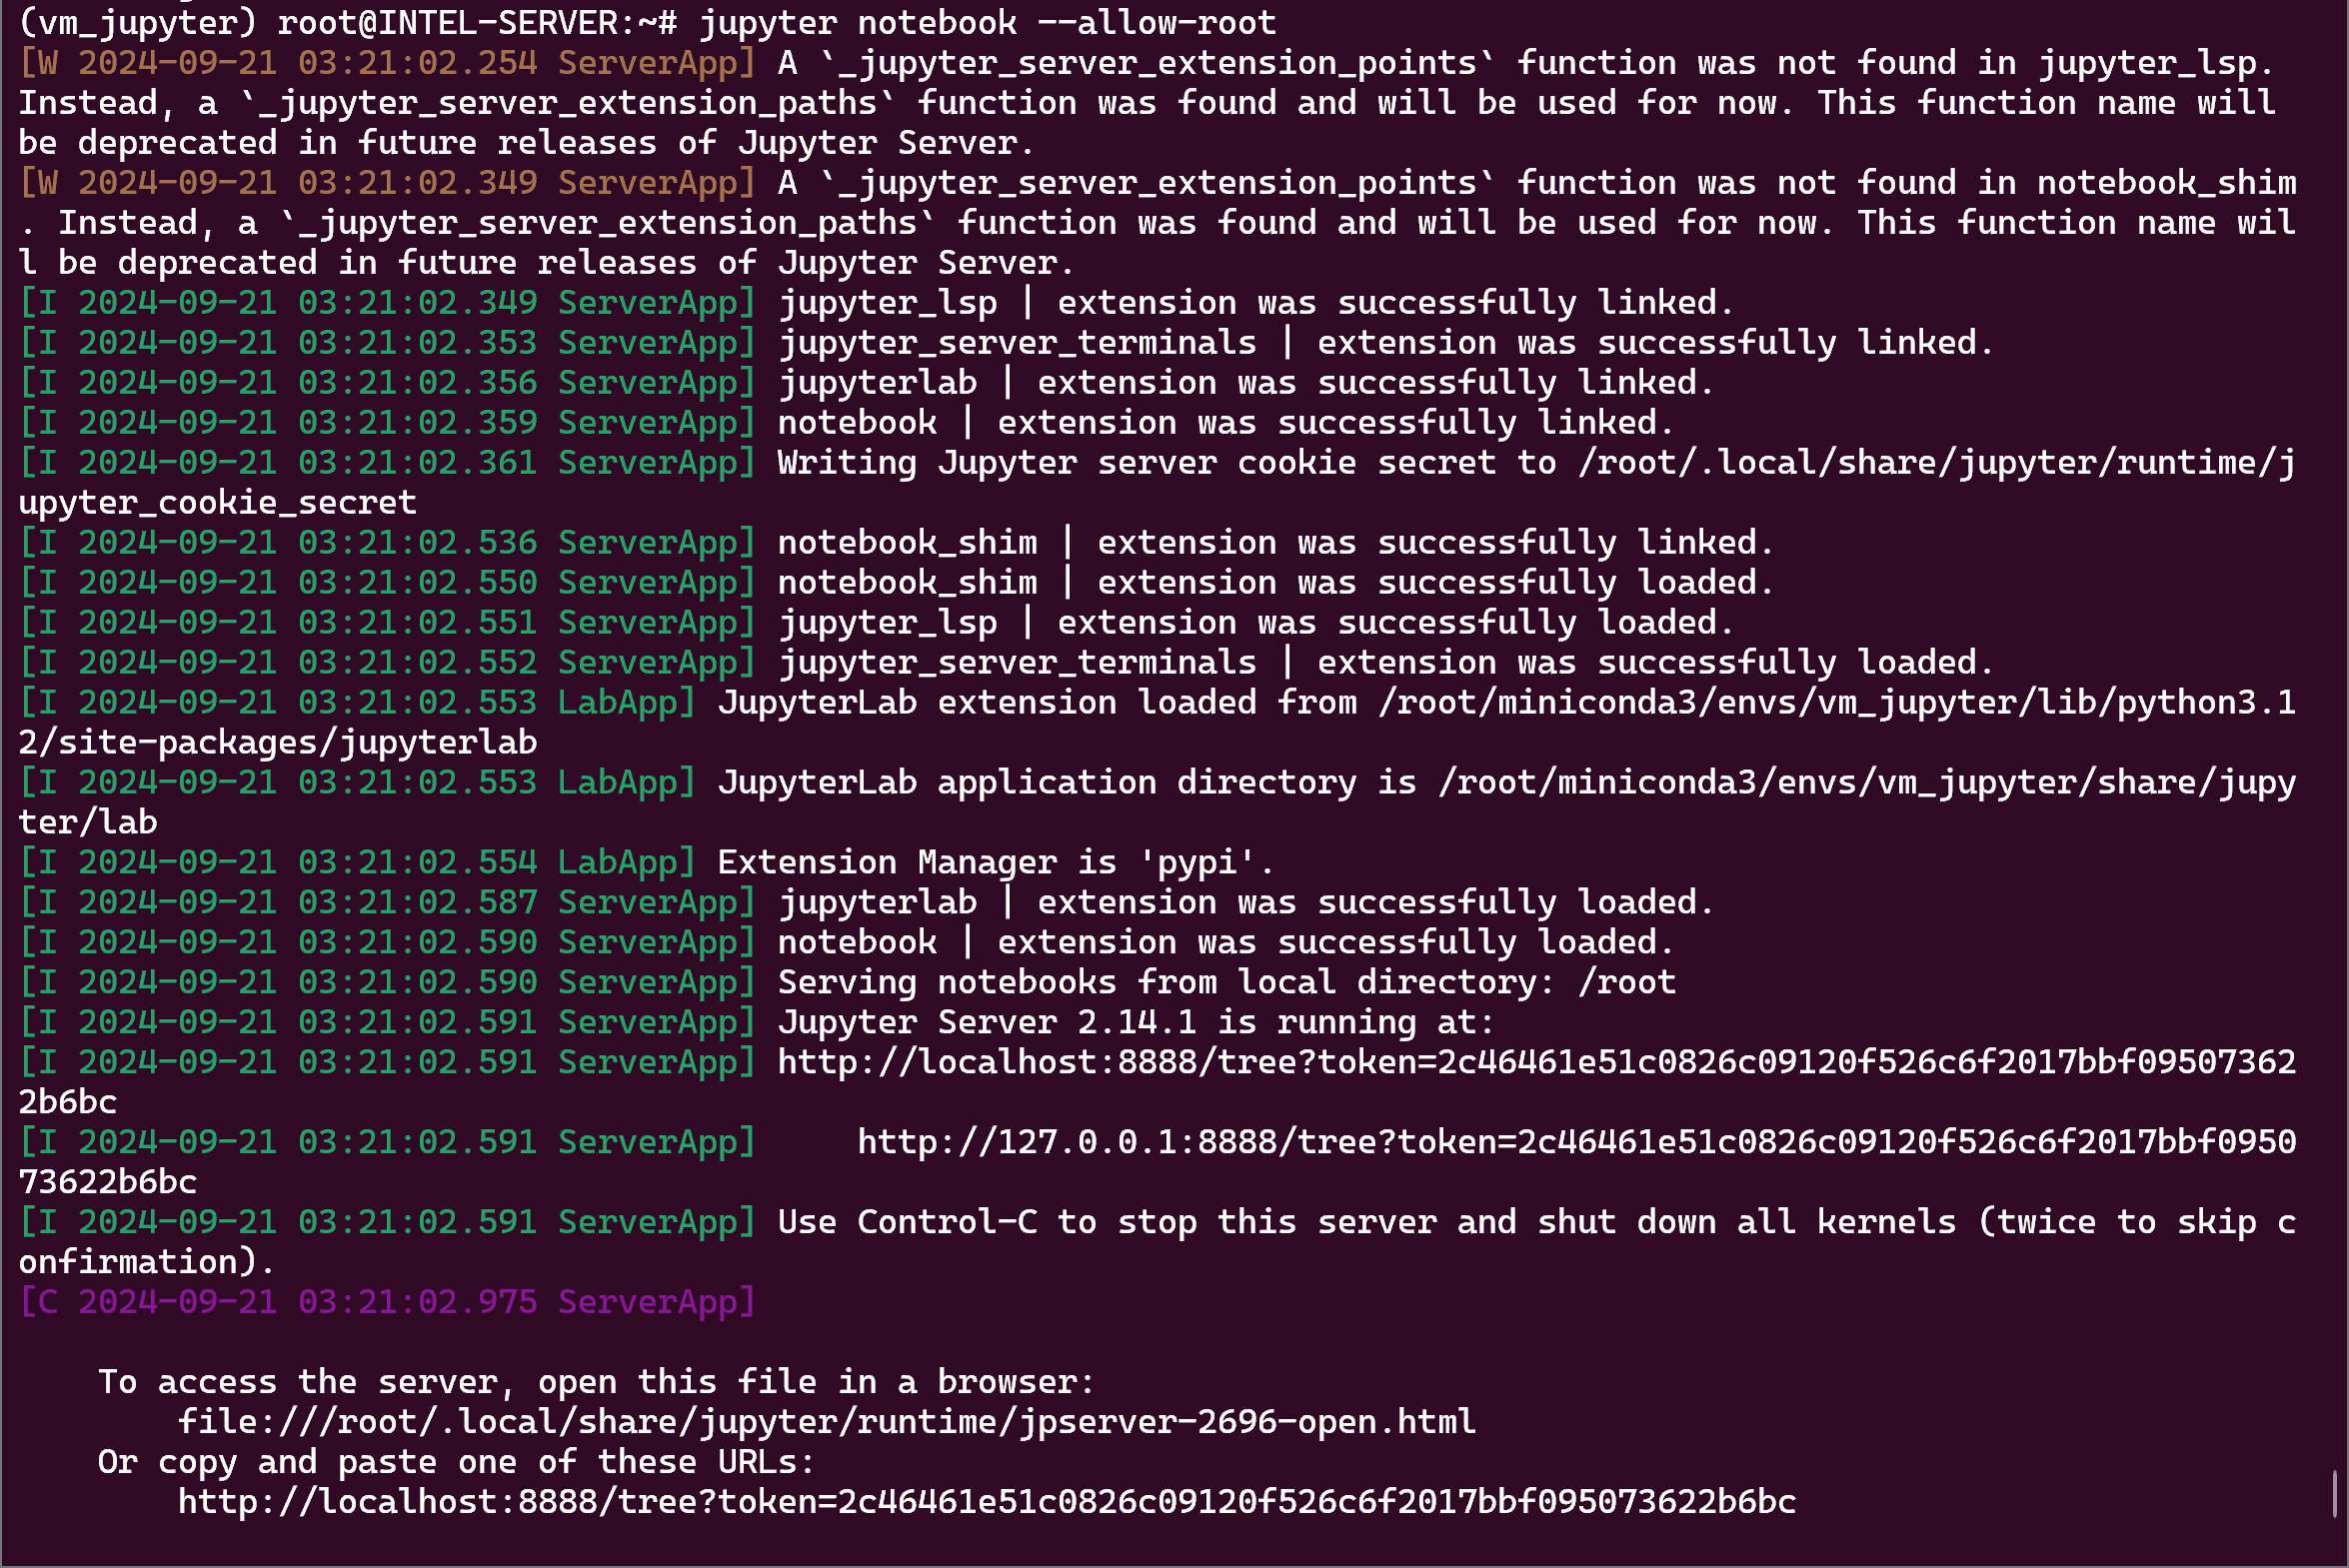
点击任意一个链接, 打开Jupyter Notebook

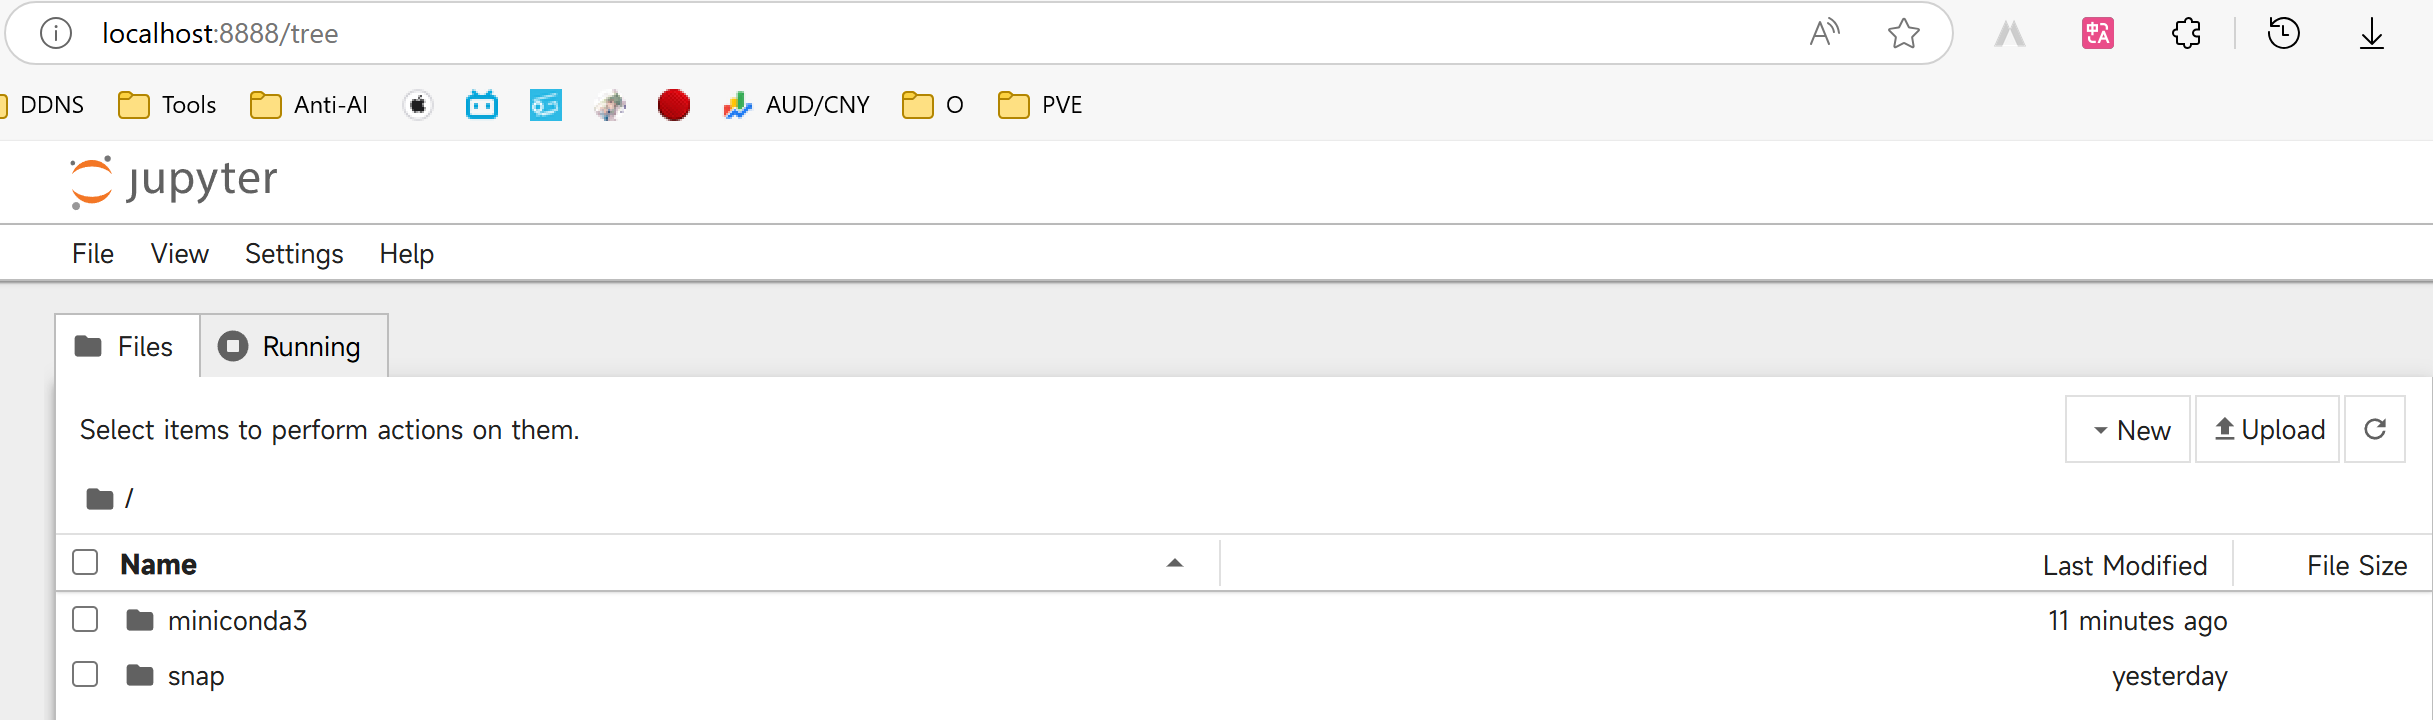
如果想用其他电脑访问这个Notebook, 则要进行配置
Ctrl+C 关闭Notebook, 输入以下指令生成配置文件
jupyter notebook --generate-config编辑这个配置文件
sudo nano /root/.jupyter/jupyter_notebook_config.py填入以下内容并Ctrl+O保存
c.NotebookApp.ip = '0.0.0.0'
c.NotebookApp.open_browser = False
c.NotebookApp.allow_remote_access = True
c.NotebookApp.port = 8888
c.NotebookApp.token = '114514'
再次打开Notebook
jupyter notebook --allow-root把他给出的连接的IP换成Ubuntu的IP地址, 已经可以访问了,密码就是之前填的token, 这里是114514

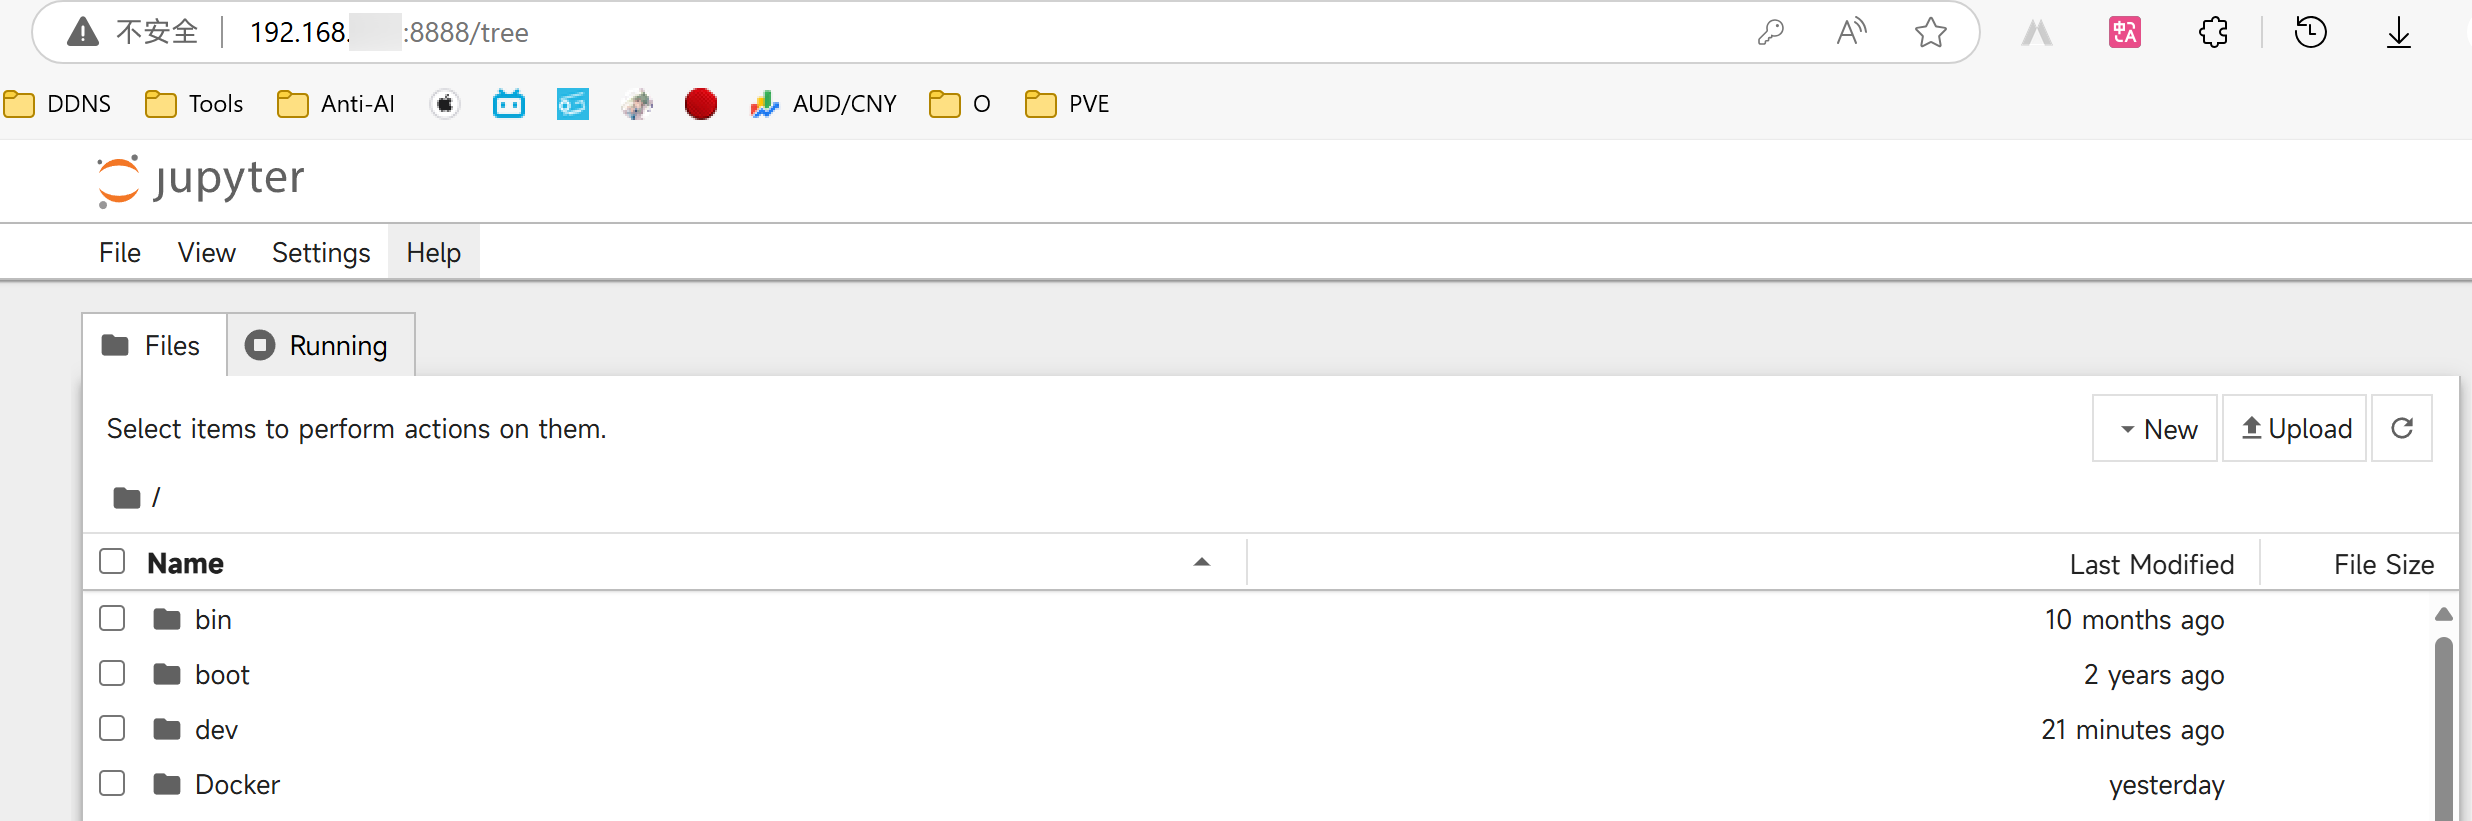
安装中文
在虚拟环境运行
pip install jupyterlab-language-pack-zh-CN开机自启动
创建一个shell, 命名为start_jupyter.sh,我这里放在/root/auto_run,内容填入
#!/bin/bash
source /root/miniconda3/etc/profile.d/conda.sh
conda activate vm_jupyter
jupyter notebook --allow-root
添加权限
chmod +x /root/auto_run/start_jupyter.sh创建 systemd 服务文件 /etc/systemd/system/jupyter.service
填入
[Unit]
Description=Start Jupyter Notebook
After=network.target

[Service]
Type=simple
ExecStart=/root/auto_run/start_jupyter.sh
WorkingDirectory=/root
Restart=on-failure

[Install]
WantedBy=multi-user.target
启动服务
sudo systemctl daemon-reexec
sudo systemctl daemon-reload
sudo systemctl enable jupyter.service
sudo systemctl start jupyter.service[Conda] 安装Jupyter notebook
https://blog.onanii0721.website//archives/condajupyteris